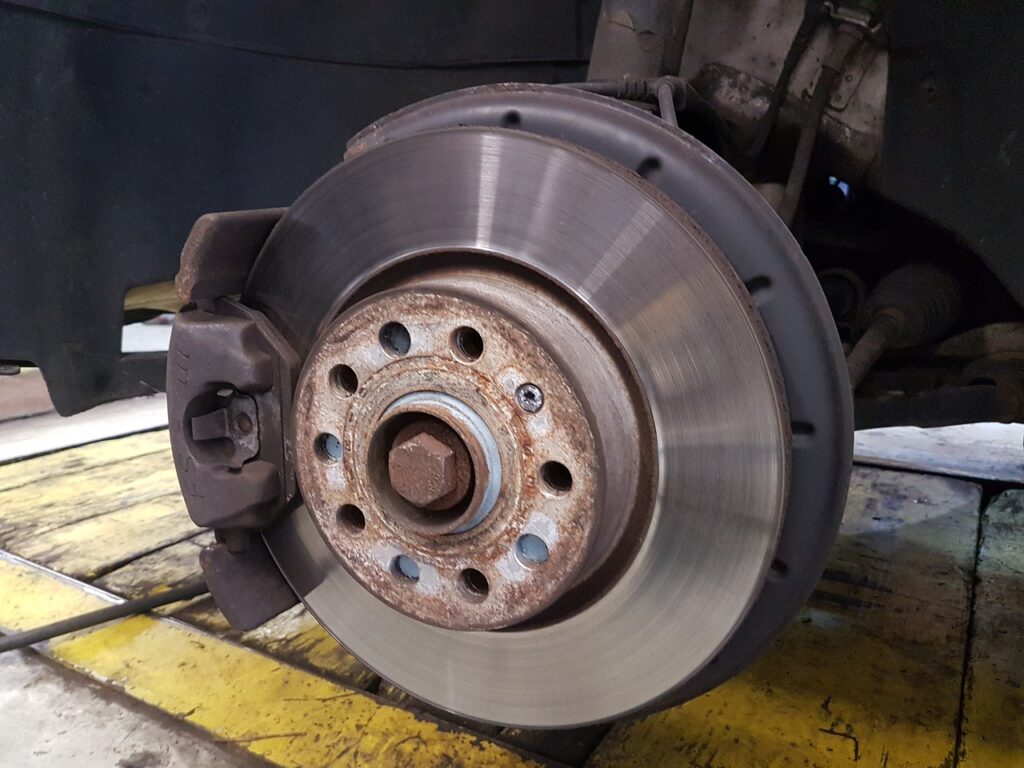
Electric scooters are becoming increasingly popular because they are comfortable and environmentally friendly vehicles. However, like any other vehicle, they require regular maintenance. One of the most common problems is wear and tear on the braking system. In this article, we will discuss how to replace the brake pads and adjust the brakes on your electric scooter.
Replacing brake pads
To replace your brake pads, you will need a few basic tools: an Allen key, a flat-blade screwdriver and new brake pads. Here are the steps to do it:
1. Remove the wheel: First, unscrew the screws holding the wheel and remove it from the scooter.
2. Remove the old decks: Using a flat-blade screwdriver, carefully remove the old brake pads from their holders.
3. Insert the new decks: Insert the new brake pads into the brackets, making sure they are properly seated.
4. Assemble the circle: Lock the wheel back in place by tightening all the screws.
Brake adjustment
After replacing the pads, it is very important to adjust the brakes properly to achieve the best braking performance. Here's how to do it:
1. Check the brake cable: Make sure the brake cable is not too loose or too tight. If necessary, adjust the cable length with the clamping screws.
2. Adjust the position of the brake pads: Check that the pads are touching the brake disc properly. If necessary, use an Allen key to adjust the position of the pads.
3. Test your brakes: After the adjustment, run some tests to make sure the brakes are working effectively. If you notice any problems, go back to the adjustment steps and make any necessary corrections.
Proper maintenance can significantly extend the life of your electric scooter and ensure a safe journey. Regular checking of the brake system and replacement of the brake pads are essential to avoid accidents and keep the scooter running smoothly.

